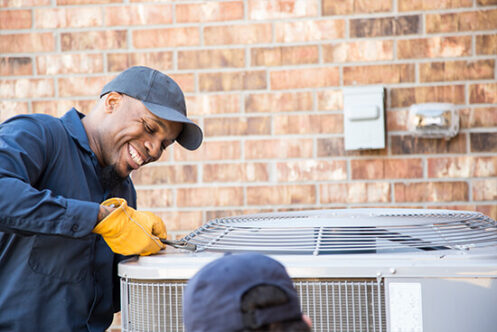
During an AC installation appointment, professionals evaluate your home, recommend the right system, and handle the installation, including setup, testing, and guidance on usage. This ensures your air conditioner runs efficiently for lasting comfort. Regular maintenance is key to keeping it in top shape!
When it’s time to install a new air conditioner, understanding the process can save you time, effort, and unnecessary frustration. A well-executed installation not only ensures your system operates efficiently but also helps you avoid common pitfalls like improper sizing, incorrect placement, or inadequate airflow.
This guide walks you through the key steps of an AC installation appointment, providing a clear overview of what to expect before, during, and after the process. With this knowledge, you can feel confident in making informed decisions and preparing your home for a smooth, hassle-free installation.
Preparing for Your AC Installation Appointment
Initial Consultation
Before installation, professionals conduct a thorough evaluation. This includes:
- Assessing room sizes and layout.
- Checking existing ductwork, if applicable.
- Discussing your cooling needs and preferences.
This ensures the right system is selected for your home. Learn more about choosing the best fit on our How to Choose the Right AC Unit page.
Personalized Recommendations
After the evaluation, experts recommend the best system based on:
- Energy efficiency requirements.
- Cooling capacity (measured in kW or BTUs).
- Specific room and property considerations.
This step ensures you get a system that balances performance and cost. Visit our AC Installation page to explore more about this process.
What Happens on Installation Day?
Pre-Installation Setup
Technicians prepare your home by:
- Verifying that electrical systems meet the new AC’s requirements.
- Clearing the workspace around installation areas.
- Removing the old unit, if applicable.
Proper preparation minimizes disruptions and ensures smooth installation.
Installing Your AC System
The actual installation involves several critical steps:
- Positioning the indoor unit to maximize airflow efficiency.
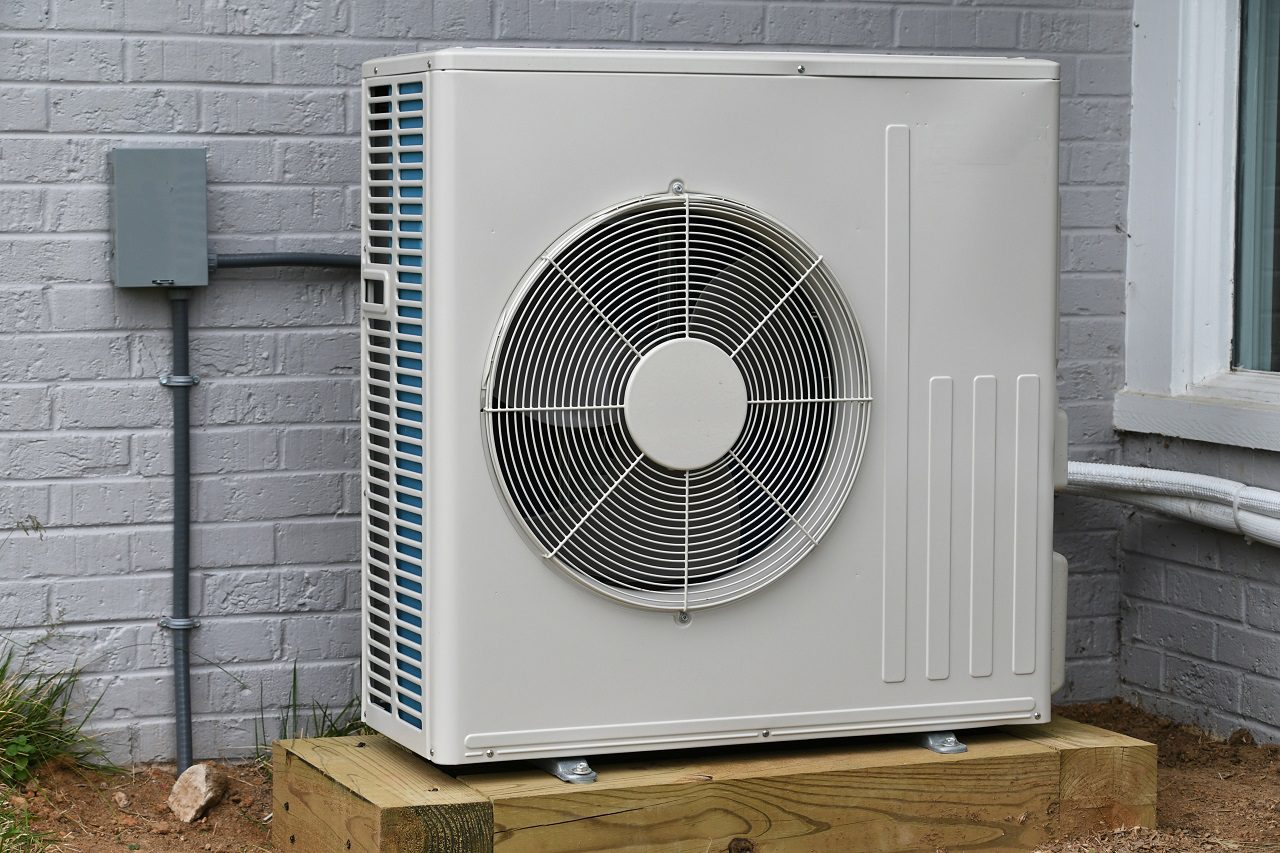
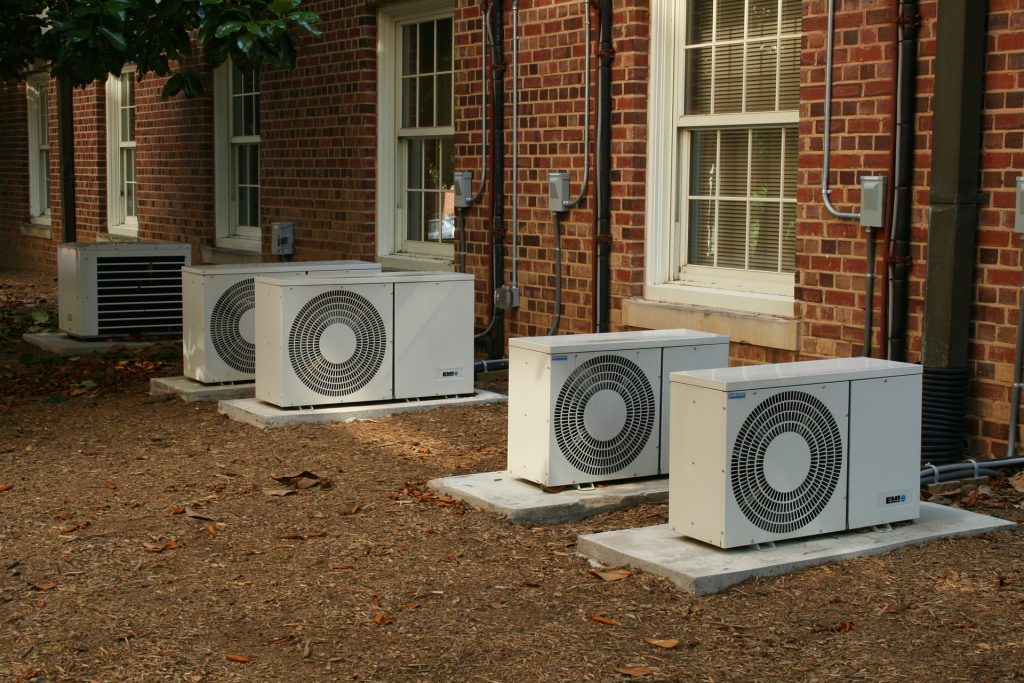
- Installing the outdoor unit in a well-ventilated location.
- Connecting refrigerant lines, wiring, and any required ductwork.
System Testing
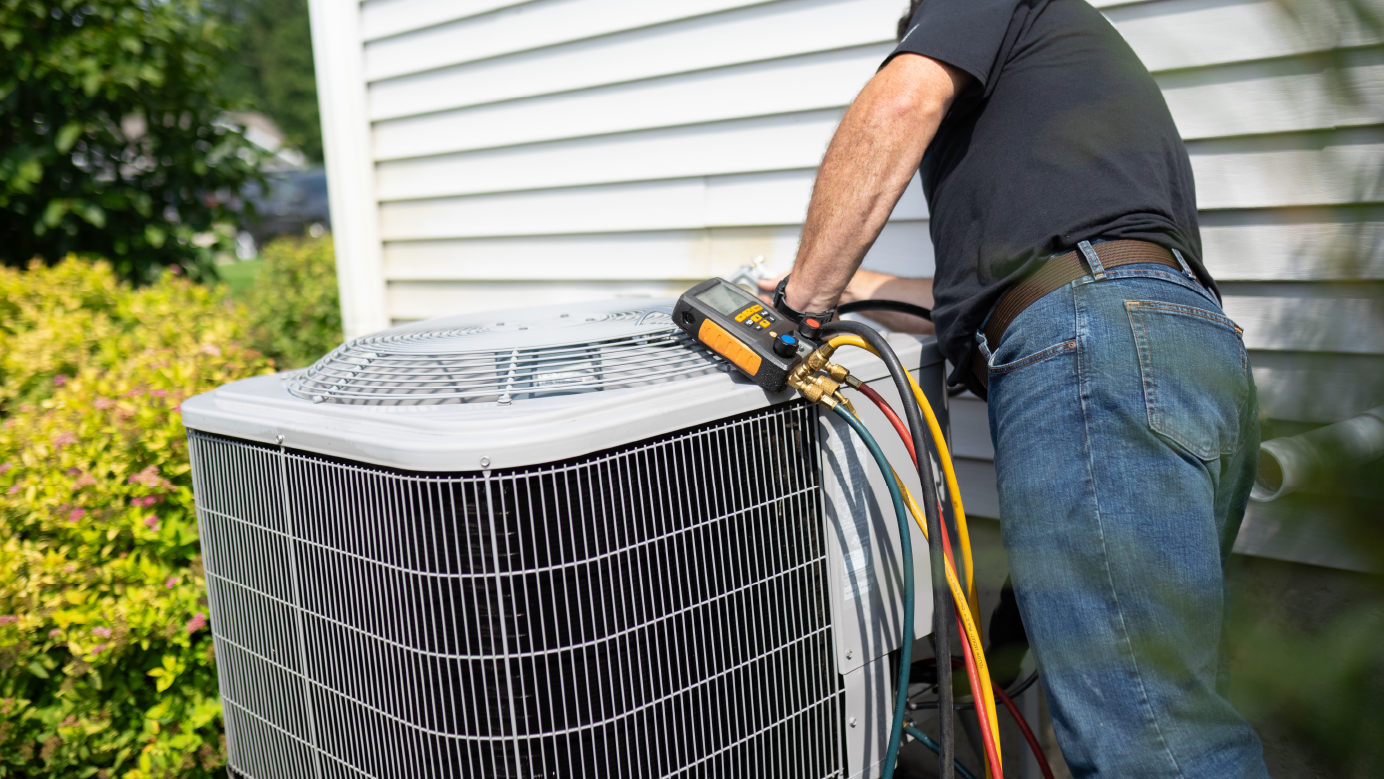
After installation, the system is thoroughly tested. Technicians check:
- Thermostat calibration.
- Airflow through vents.
- Electrical and refrigerant line connections.
These steps ensure your system operates perfectly. For tips on maintaining a new AC system, visit our AC Maintenance page.
Post-Installation Tips
Understanding Your New System
Technicians provide a detailed walkthrough of your system. They explain:
- How to use the thermostat effectively.
- Energy-saving features.
- Recommended maintenance schedules.
Scheduling Routine Maintenance
Regular maintenance extends your system’s lifespan and improves efficiency. Schedule routine checkups through our AC Maintenance Plans.
Additional HVAC Services to Consider
Residential and Commercial Installations
Whether you need an AC for your home or a large commercial property, professional installation ensures reliability. Explore our Residential HVAC Services or Commercial HVAC Solutions for tailored options.
Enhancing Indoor Air Quality
Pair your new AC with advanced filtration systems for cleaner air. Benefits include:
- Reduced allergens and dust.
- Improved respiratory health.
Check out our Benefits of Regular AC Maintenance guide for tips on maintaining air quality.
Common Questions About AC Installation
How Long Does Installation Take?
Installation typically takes 4–8 hours, depending on:
- System size.
- Complexity of ductwork.
What Can I Do to Prepare?
- Clear the installation area.
- Ensure outdoor unit space is accessible.
What Are the Benefits of Professional Installation?
Professionals ensure:
- Proper placement for maximum efficiency.
- Safe electrical connections.
- Compliance with manufacturer guidelines.
Learn more on our How to Choose the Right HVAC Contractor page.
Energy Efficiency Tips
Upgrade to a Smart Thermostat
A smart thermostat can save energy by:
- Learning your cooling habits.
- Adjusting temperatures automatically.
Seal Gaps and Leaks
Check windows and doors for air leaks. Sealing them improves efficiency and reduces energy bills.
Visit our Energy-Saving Tips for more ideas.
Call to Action
For expert AC installation tailored to your needs, call TEL: [Phone Number] today. Visit HVACation to learn more about our comprehensive services and schedule your appointment now.


